Newly
When you sign up for this on-demand class, you can choose from 10 or 14 weeks of dedicated time with Elizabeth. You can start as soon as you register or dedicate a date you wish to start. Be sure to let us know if you dedicate a date.
Do you want to improve your work as an art quilter? The best way to develop a coherent body of work is to work in a series. This workshop focuses on the development of at least 6 related designs for quilts. This can be accomplished either by working sequentially from one design to another or by planning six ideas at once.
Improve your skills and grow as an artist by focusing on a single idea or technique as you make a series of art quilts. Exercises in the first two lessons of this master class will help you clarify your ideas and choose a theme. By Lesson Three, you will be designing and working on your own series. The last two lessons provide examples of series work and delve into more detail on design and art tools. Award-winning quilt artist, Elizabeth will provide individual critiques and guide you through the design process.
Level: Intermediate to Advanced. You must be competent with basic art quilt construction and may use whatever methods you prefer. Class material covers composition and design.
Note: Once purchased, you can access the class data any time, 24 hours a day and you get immediate access. (if you don't have an account we suggest you sign up for one prior to purchase)
Time Duration applies only to teacher access for your question and answer duration.
Outline
Lesson One
What it means to work in a series
Why you should do it
Inspirations
Using past work to chart your course
Motivation, practice and managing your time
Ways of working in a series
How to develop a series
Choosing your theme
How long a series should be
Lesson Two
Developing parameters
Deciding on techniques
Tracing
Sketching in pencil
Sketching in watercolor
Collage
Photocopying
Photographing
Computer software
Lessons Three and Four
Both these lessons will have two parts
Part A: In-depth critique of all images posted to the Gallery. You do not have to post if you are not ready BUT you should read the classroom discussions if possible because that is where the meat of the lesson will be found.
Part B: Topics in composition as outlined below.
Lesson Three
Achieving the illusion of depth
Evaluating your designs
Choosing strong color schemes and the use of simultaneous contrast
Using rhythms and repetition to make a piece more interesting
The use of value patterns (chiaroscuro or Notan)
Landscape composition rules and how we can apply these ideas
Pitfalls to avoid in working from photographs
Lesson Four
Bringing energy and dynamism into your work
Developing focal areas and emphasis
Underlying structural patterns and balance
Looking more closely at positive and negative space
Visual pathways
Shibui, the power of the mark of the hand
Critiquing work of yourself and others
Supplies Required for Workshop
Inspiration Notebook: a notebook, binder, old shoe box, or folder on the computer. Into this inspiration notebook, put any pictures, paintings, photographs, doodles, or writings you find inspiring. This will be the well to which you return time and again when your imagination needs replenishment. The first thing to do when thinking about designing your own quilts is to start collecting inspirational images:
your own, or other people’s photographs (you won’t be copying them, so no worries about copyright)
sketches, drawings or doodles
ideas such as "red balloons rising up into a blue sky", or "the Smoky Mountains: rolling hills in many layers with each layer greyer and softer than the one in front of it"
Fabric
This workshop is about developing a series of quilts. The fabric supplies are just suggestions and you will most likely have what you need at home. The non-fabric, non-sewing supplies will be used for the exercises in the first two lessons.
I hope you have a large stash, but do not run out and buy things before knowing what you need. For simplicity’s sake, I recommend that most of your stash be solid colored, or very low texture (soft nondescript designs) but the final choice will depend upon the subject you choose to focus on. It is important to have a good range of values, from very light to very dark in your favorite colors. If you have absolutely no idea what your favorite colors are, and definitely want to buy or dye something, I would recommend: white, black, and three grays: light, medium and dark. If you choose specific colors, always try to have a wide range of value, saturation and temperature.
batting or flannel (sufficient for your quilt)
fabric for quilt back
basting thread or safety pins
Tools and other supplies
rotary cutter, board, rotary ruler guides, spare blade – or scissors
marking pencil (white charcoal or silver) for marking fabric for cutting
freezer paper (if you prefer to make templates)
sewing machine in good working order
thread, needles, pins, scissors
design wall or vertical boards on which to pin the work
iron, ironing board
plain paper for sketches and notes
piles of old magazines to cut up for collage
tracing paper
ruler, pen, pencil
a few colored pencils or felt pens. Light, medium, and dark grey pencils and a black felt tip pen are very helpful for value studies. A few watercolors or other paints, whatever you usually use for sketching
an old picture mat (mount) you can cut in two or a piece of black paper, cardstock or poster board
a camera (any kind)
glue stick for collage
computer with some simple photo/drawing graphic software: Photoshop Elements, Paint Shop Pro, GIMP (GNU Image Manipulation Program) - a free download comparable to the other two listed
access to a photocopier
Working in Series
USD 42.00
Product description
When you sign up for this on-demand class, you can choose from 10 or 14 weeks of dedicated time with Elizabeth. You can start as soon as you register or dedicate a date you wish to start. Be sure to let us know if you dedicate a date.
Do you want to improve your work as an art quilter? The best way to develop a coherent body of work is to work in a series. This workshop focuses on the development of at least 6 related designs for quilts. This can be accomplished either by working sequentially from one design to another or by planning six ideas at once.
Improve your skills and grow as an artist by focusing on a single idea or technique as you make a series of art quilts. Exercises in the first two lessons of this master class will help you clarify your ideas and choose a theme. By Lesson Three, you will be designing and working on your own series. The last two lessons provide examples of series work and delve into more detail on design and art tools. Award-winning quilt artist, Elizabeth will provide individual critiques and guide you through the design process.
Level: Intermediate to Advanced. You must be competent with basic art quilt construction and may use whatever methods you prefer. Class material covers composition and design.
Note: Once purchased, you can access the class data any time, 24 hours a day and you get immediate access. (if you don't have an account we suggest you sign up for one prior to purchase)
Time Duration applies only to teacher access for your question and answer duration.
Outline
Lesson One
What it means to work in a series
Why you should do it
Inspirations
Using past work to chart your course
Motivation, practice and managing your time
Ways of working in a series
How to develop a series
Choosing your theme
How long a series should be
Lesson Two
Developing parameters
Deciding on techniques
Tracing
Sketching in pencil
Sketching in watercolor
Collage
Photocopying
Photographing
Computer software
Lessons Three and Four
Both these lessons will have two parts
Part A: In-depth critique of all images posted to the Gallery. You do not have to post if you are not ready BUT you should read the classroom discussions if possible because that is where the meat of the lesson will be found.
Part B: Topics in composition as outlined below.
Lesson Three
Achieving the illusion of depth
Evaluating your designs
Choosing strong color schemes and the use of simultaneous contrast
Using rhythms and repetition to make a piece more interesting
The use of value patterns (chiaroscuro or Notan)
Landscape composition rules and how we can apply these ideas
Pitfalls to avoid in working from photographs
Lesson Four
Bringing energy and dynamism into your work
Developing focal areas and emphasis
Underlying structural patterns and balance
Looking more closely at positive and negative space
Visual pathways
Shibui, the power of the mark of the hand
Critiquing work of yourself and others
Supplies Required for Workshop
Inspiration Notebook: a notebook, binder, old shoe box, or folder on the computer. Into this inspiration notebook, put any pictures, paintings, photographs, doodles, or writings you find inspiring. This will be the well to which you return time and again when your imagination needs replenishment. The first thing to do when thinking about designing your own quilts is to start collecting inspirational images:
your own, or other people’s photographs (you won’t be copying them, so no worries about copyright)
sketches, drawings or doodles
ideas such as "red balloons rising up into a blue sky", or "the Smoky Mountains: rolling hills in many layers with each layer greyer and softer than the one in front of it"
Fabric
This workshop is about developing a series of quilts. The fabric supplies are just suggestions and you will most likely have what you need at home. The non-fabric, non-sewing supplies will be used for the exercises in the first two lessons.
I hope you have a large stash, but do not run out and buy things before knowing what you need. For simplicity’s sake, I recommend that most of your stash be solid colored, or very low texture (soft nondescript designs) but the final choice will depend upon the subject you choose to focus on. It is important to have a good range of values, from very light to very dark in your favorite colors. If you have absolutely no idea what your favorite colors are, and definitely want to buy or dye something, I would recommend: white, black, and three grays: light, medium and dark. If you choose specific colors, always try to have a wide range of value, saturation and temperature.
batting or flannel (sufficient for your quilt)
fabric for quilt back
basting thread or safety pins
Tools and other supplies
rotary cutter, board, rotary ruler guides, spare blade – or scissors
marking pencil (white charcoal or silver) for marking fabric for cutting
freezer paper (if you prefer to make templates)
sewing machine in good working order
thread, needles, pins, scissors
design wall or vertical boards on which to pin the work
iron, ironing board
plain paper for sketches and notes
piles of old magazines to cut up for collage
tracing paper
ruler, pen, pencil
a few colored pencils or felt pens. Light, medium, and dark grey pencils and a black felt tip pen are very helpful for value studies. A few watercolors or other paints, whatever you usually use for sketching
an old picture mat (mount) you can cut in two or a piece of black paper, cardstock or poster board
a camera (any kind)
glue stick for collage
computer with some simple photo/drawing graphic software: Photoshop Elements, Paint Shop Pro, GIMP (GNU Image Manipulation Program) - a free download comparable to the other two listed
access to a photocopier
You may also like

Candy Sushi Craft Kit
USD 49.99

Pop Up Dollhouse
USD 24
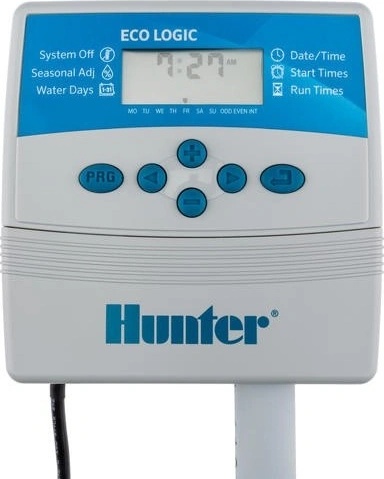
HUNTER ELC-401i-E
EUR 49.5

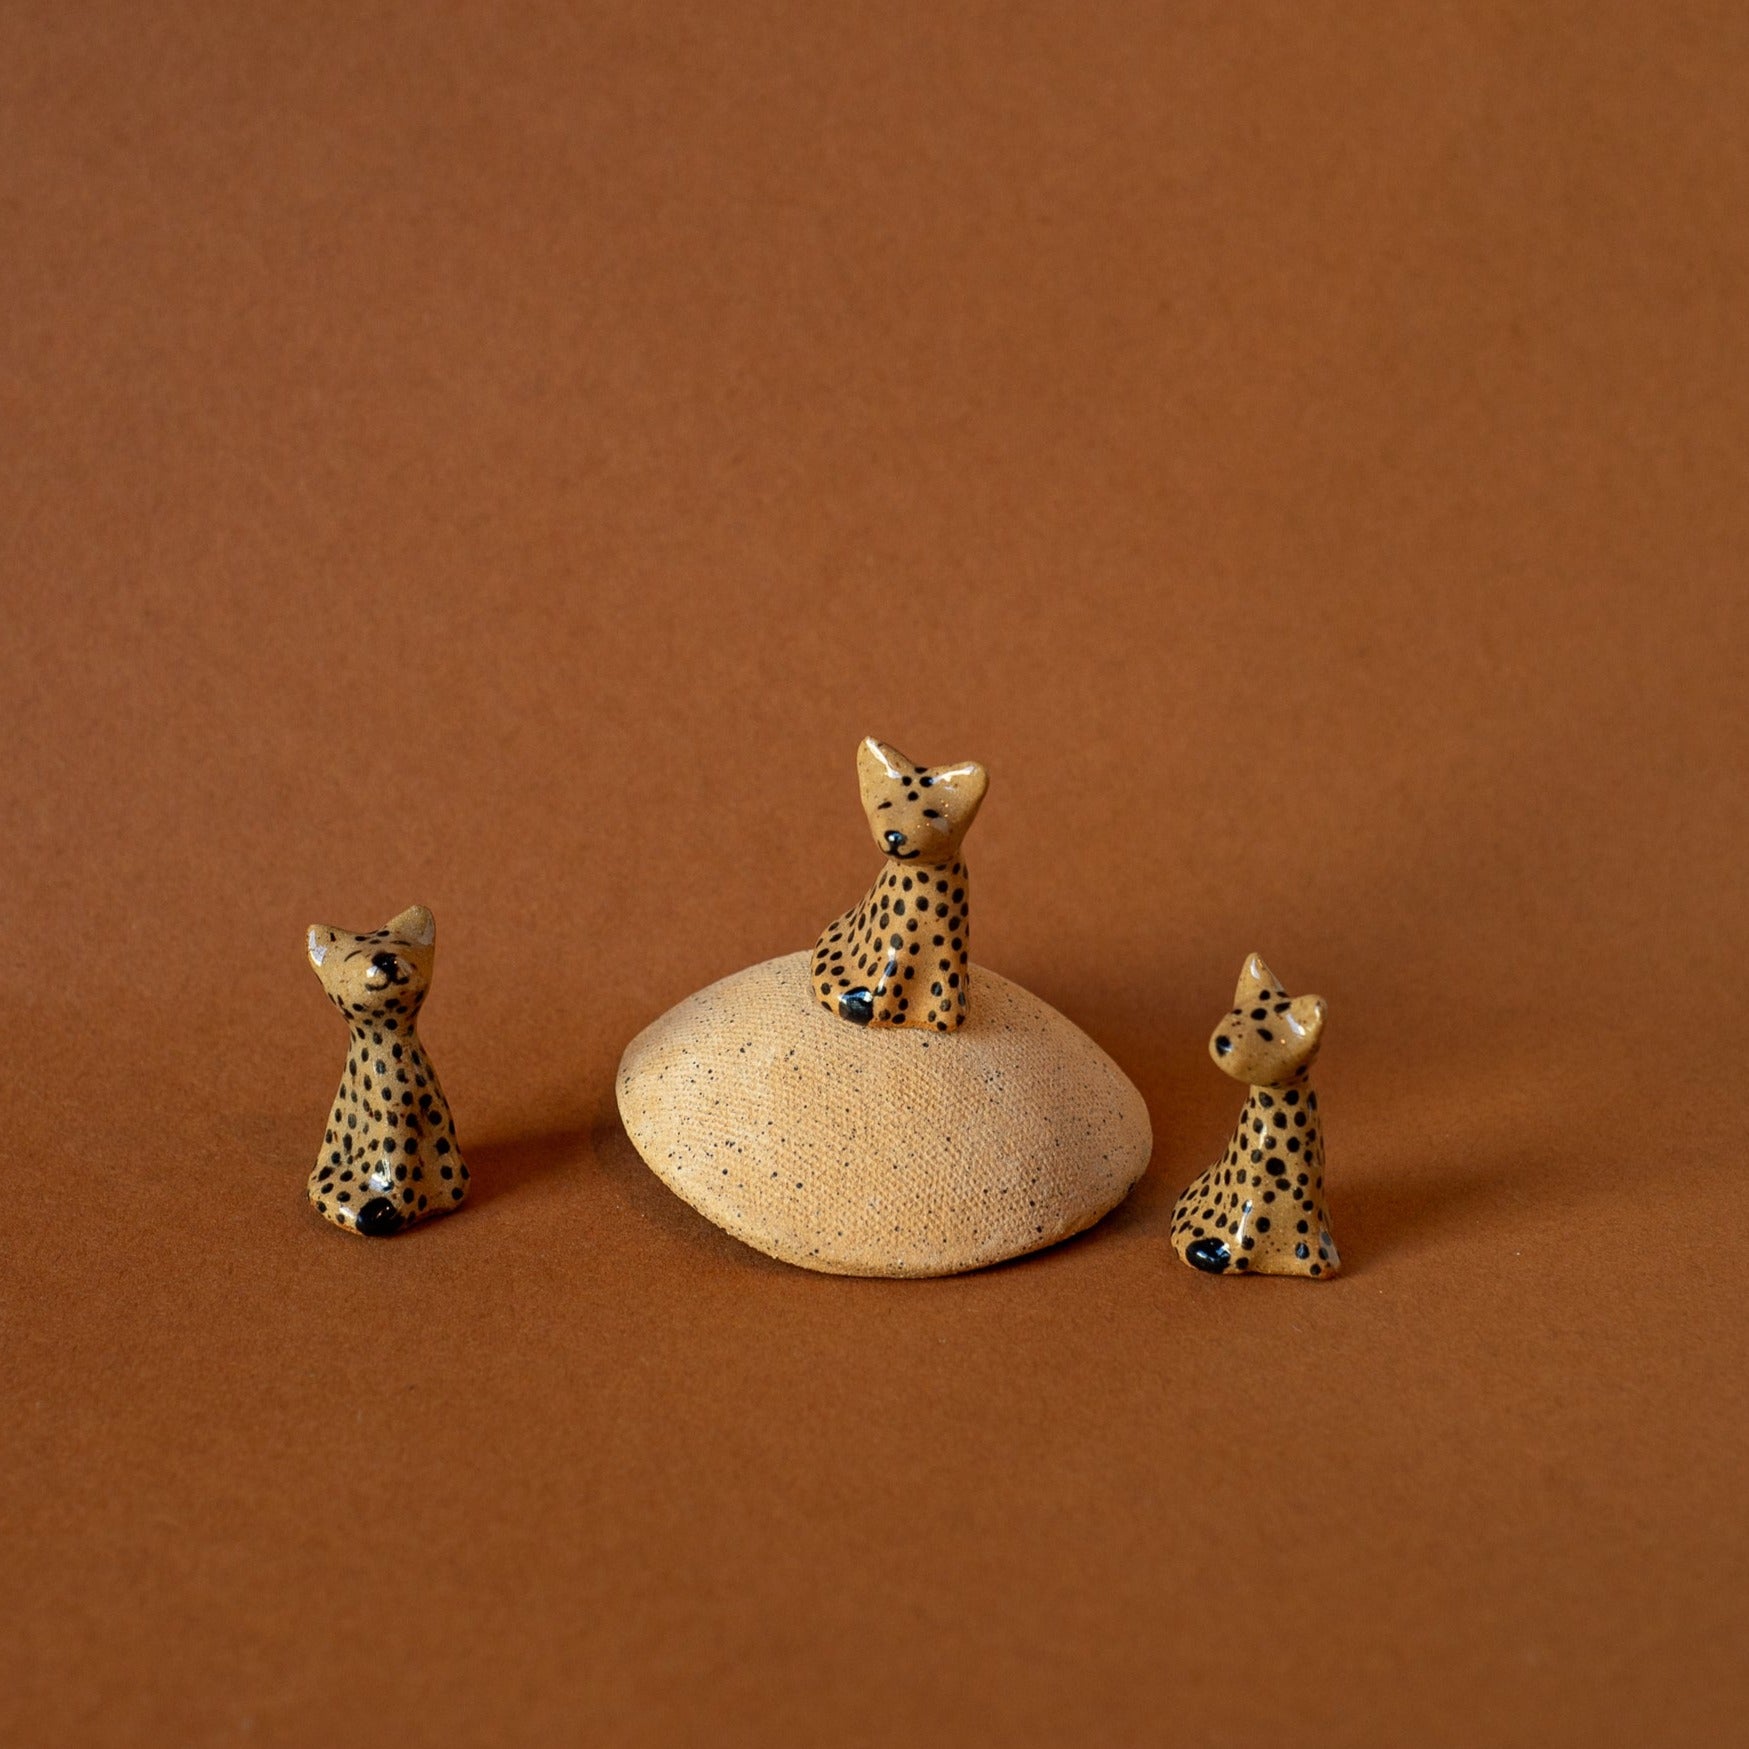
Chita Figurine
USD 36


Reyka Vodka 750ml
USD 19.99


Maecenas varius maximus
GBP 69


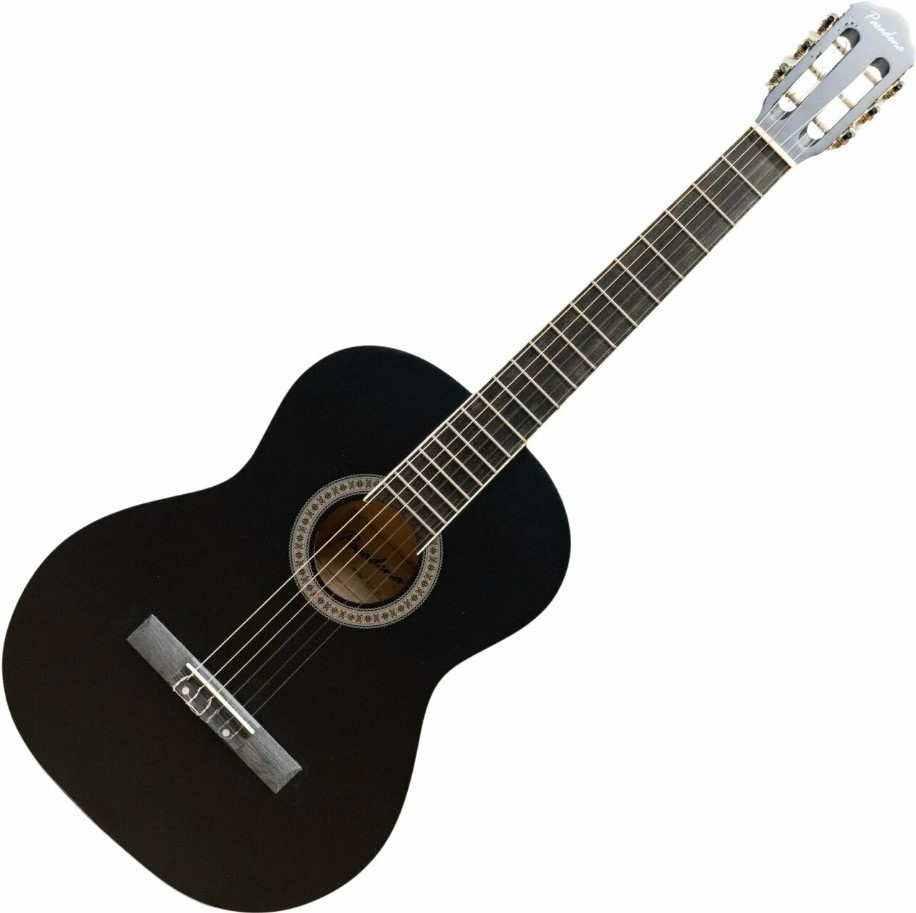
Pasadena SC041
EUR 54.3